Hello! My name is Scott and this is the second blog of a three part series about my return to school to follow my passion for photography as a mature student. If you haven’t read my first blog, “Photography Education – Upgrading during a Pandemic” – I encourage you to read that first.
The Elephant in the Room
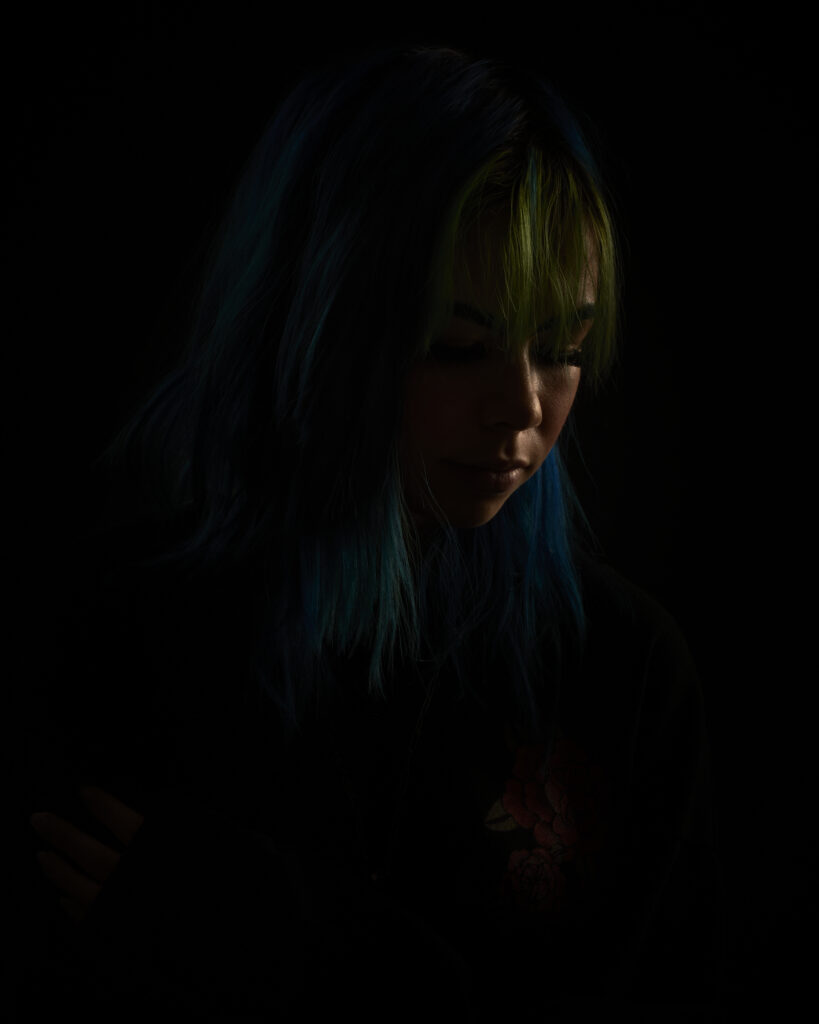
I’ll open by saying this, the fact that you are able to shoot in a studio setting with strobe or artificial light doesn’t make you a better photographer than someone who shoots with natural or ambient light. It simply provides you with different creative options and greater consistency, which, if shooting in a commercial setting, is likely a prerequisite for the sake of efficiency both during the shoot and in post editing of images.
This being said, the reality is many photographers, regardless of genre, have been able to carve out livings while shooting outside of studio with only natural light. In fact, some photographers I know have tens of thousands of dollars invested in lighting yet still rave over the results of natural light…the challenge, is waiting for that perfect light.
The Devil in the Studio
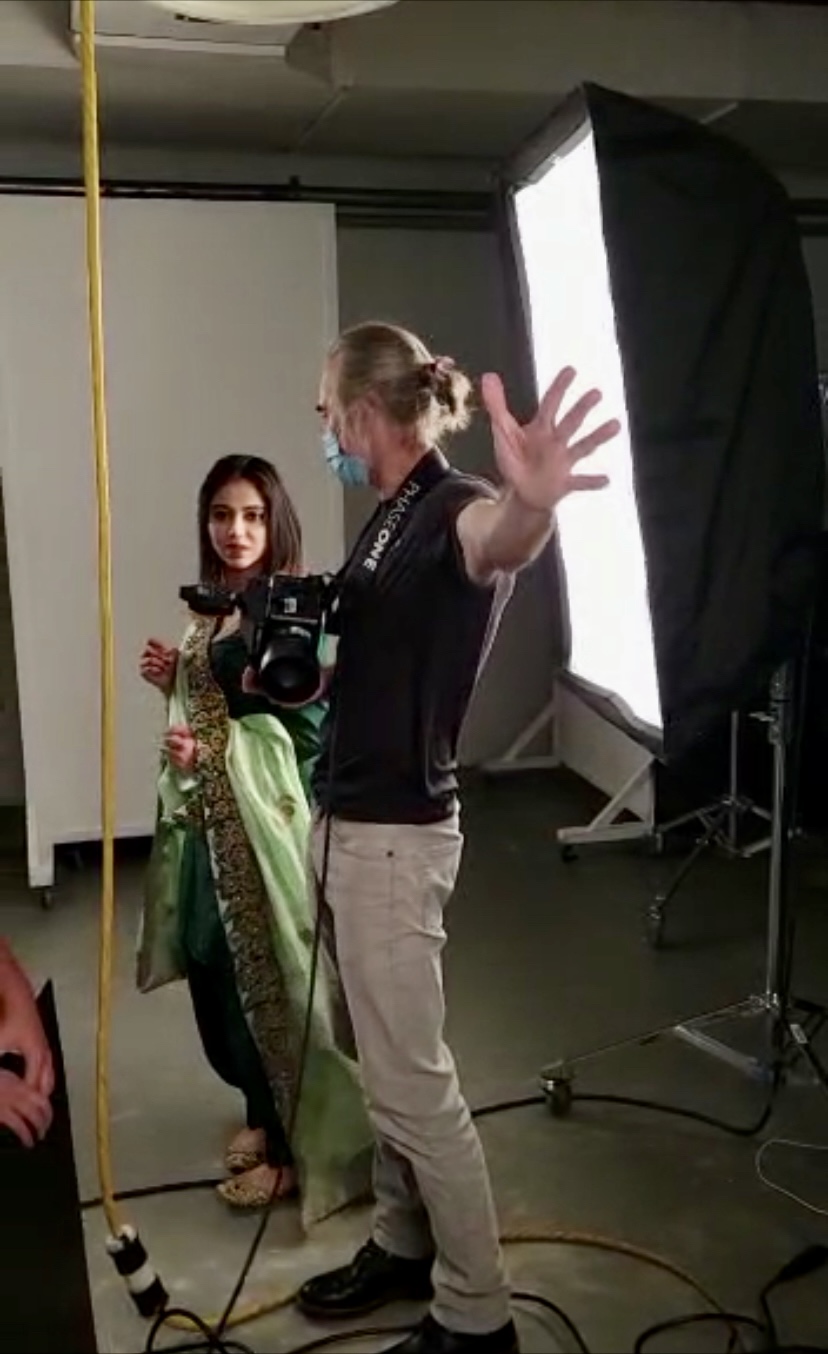
I can remember the day I walked into may first live studio setting. Even though I had held a camera in my hand for the better part of thirty years, everything now seemed foreign to me. While I had a sound foundation in figuring out camera settings and exposures manually in natural light settings, standing in a darkened studio, trying to incorporate strobes to achieve certain lighting ratios was a whole new beast.
While a natural light photographer might wait to shoot at a specific time of day in order to achieve certain direction and quality of light that the photographer will be able to see with their naked eye, with experience the studio shooter is able to create artificially with strobes on cue. The challenge for the studio shooter being, even if working with modelling or constant light, the lighting ratios and quality of light must first be envisioned and then constructed.
Yes, this sounds like work. And yes, you’re right – but it’s both fun and rewarding! The good news is that with practice there are many set patterns or templates for lighting that are specific for certain genres of photography. While a topic for a future blog, with practice, anyone can add these lighting set-ups to their toolbox.
Three Lessons Learned
1. Perhaps a hold over from the days of film, the light meter is still a staple in many professional studios and perhaps for good reason. As I mentioned before, there are certain lighting templates and lighting ratios that are industry standards for most forms of commercial photography, be it portrait, fashion, beauty, food or product to name a few. In the days of film, lighting meters provided the photographer a means of confirming lighting ratios and a sense of what the final exposures would be for a piece of celluloid. While nowadays we currently have the benefit of instantaneous image feedback with digital cameras, the light meter still provides a proven means of expediting the set-up of lighting sets in order to achieve desired lighting ratios. Is a light meter necessary? I’d say it’s still a useful tool – but not necessary. With a trained eye, a photographer can now review their photo immediately after taking it and make necessary adjustments to lighting in order to achieve the desired effect.
2. While the advent of digital photography has given photographers the ability to instantly receive feedback on the photo they just captured; doing so on a three inch screen on the back of your camera, while good, can certainly be better. This is achieved through connecting one’s camera to a computer or secondary screen. This process, whether by a physical cable or wireless, is called “tethering” and while there are numerous software solutions to assist with this, the common benefit is larger image reproduction and better resolution which makes quality control better during the course of a shoot. Further, most tethering software also provides you instantaneous ability to apply exposure and colour grading corrections, retouching, culling and rating during the course of a shoot. I would say, once you’ve shot tethered, you will never go back.
3. While certain genres are more forgiving with colour accuracy than others, product photography has very little, if any, room for error when it comes to accurately replicating the colours and tones of a product. In this case, a colour checker is your best friend! A colour checker is simply a card or palette of known colours and tones that can be used to calibrate the white balance and colour grading of your photo. As various lighting conditions may change how certain colours are captured and rendered in an image, being able to accurately calibrate for colours with a simple colour check will save you time in post production and is well worth incorporating into your workflow.
Let me know! Have you ever worked in studio or with strobe lighting? If so, what are your top three tips?
Upcoming Blogs
Join me for the final part of this series where I’ll share my thoughts and lessons learned for environmental photography outside of the studio and working with natural light!


